
A big thanks to Ron Swift from Motors Unlimited (MR2swift on the board) who was very nice and helped me figure out the wiring through e-mail and over the phone. The wiring isn't very hard at all. You only have to splice in a few spots. I hope this guide helps get your gen3's running. -Pat Signorino
It was hard to tell where to start, and what the problems would be from reading posts on the board. Karolina Kid had some great posts that illustrated a few problems that would have to be sorted out. I'll quote them here as another resource and perspective...
Wiring.......................
Kickpanel:
Good News:
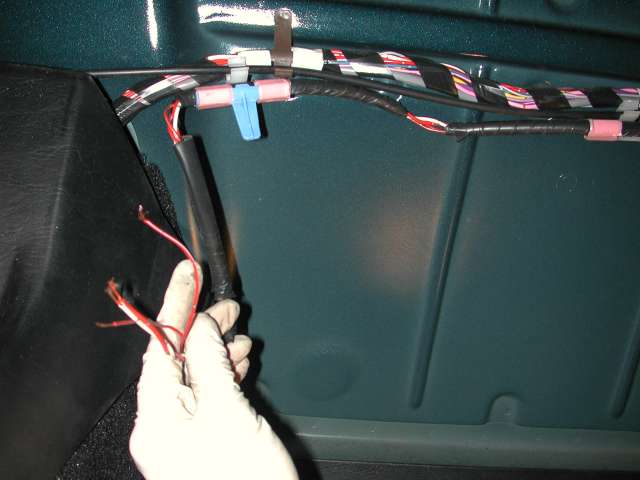
All the plugs in the kickpanel plug right in with the exception of the one single 10ga. Blk/Red wire that supplies power to the fan relay etc. in the rear fusebox. Just cut and splice on the connector from the US harness. Use solder! Not just a crimp connector!
Bad News:
The Cruise and airbag wires are all mixed up in this area so I have to figure these out yet (If the wires are even there).
T-Top Storage area:
Good News:
The fuel pump connector in the T-Top storage area was the same. pluged right in. There are some extra wires here on the J-spec harness, I'm not sure what they are for yet.
Bad News:
No wiring for the rear speaker on the drivers side or for the door light switch in the J-spec harness. Had to run wiring up to the kick panel for the light and cut and splice into the wiring loom coming up from the amp for the speaker. For some wierd reason, on the US spec, it goes from the radio to the amp, from the amp to the drivers kick panel (through the loom in the center of the car), back through the harness on the drivers sill up to the speaker. Talk about convoluted!
Engine compartment:
Good News:
I don't believe there are any problems in the engine compartment. Unless you have the mechanical speedo. Then you need to remove the 93-up connector and replace it with the 91-92 connector for the electrical sender on the tranny.
Bad News:
Didn't you see above? :P
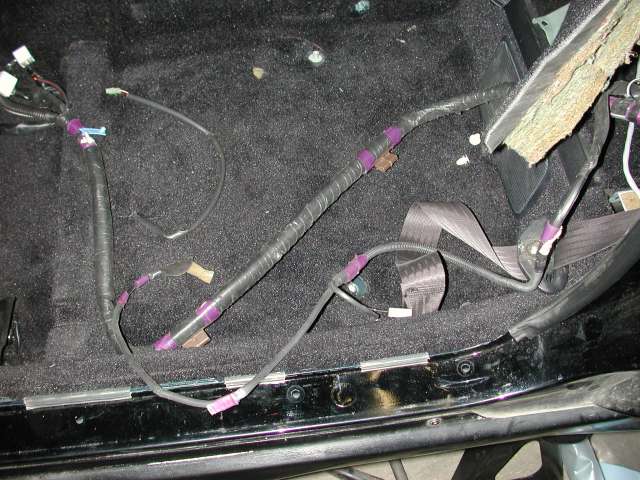
Trunk:
Good News:
Most everything plugs up here, fan computer, starter relay, trunk light, plate lights, antenna.
Bad News:
My 91 tail lights didn't plug right in. Instead of 1 male connector to 1 female connector. I had 2 of the same trying to go together. I sure am glad I pushed the guy to get the 94 tails with the clip. But, can you really call this bad news? I mean, I have 94 tails now! The hard part was taking a hammer to my car to fit the backup lights. I did have to rekey the lock cylinder but that took like 30 mins tops.
Well, that is but a little bit of what I had to do. I still have more to do and will add as I go. For now my car drives, and it's hella fast. A new Eclipse ate my dust today, but they're dog slow anyway, my US spec car beats those.
Because of the different models and trim levels of the cars you may end up with different wiring. My clip was a GT model but had no ABS or amps or subs in the rear while my 91 does.
Alan
Air Conditioning Stuff..................................
If you want to stay with R12 then you should put on the compressor that was on your car whie you were still US spec. You might notice a little problem though. The connector for the wire to the compressor clutch if different and unless you want to cut and splice you should swap the clutch and pulley assy. from the R134 one to the R12 one. You can rent a clutch puller from Auto Zone or the like.
If you want to convert over to R134a then you can do this. Take the 4 allen head bolts out of the large flange that bolts to the top of the compressor on each of the compressors and swap the 134a one for the R12 one. You now have a R134a compressor that bolts to the R12 lines. No need to swap the clutch assy. One big difference is you will need to flush the ENTIRE AC system of all the old R12 oil as it's not compatable with the 134a stuff.
In both cases:
You will also have to replace the reciever drier. (Under the drivers headlamp. Remove the headlamp and do it from the top. Trust me.)
You should replace the expansion valve at the same time too.
Don't forget new o-rings on the joints you break open. It would be cool if you could replace all the o-rings in the entire system but that would't be too easy as some are in really tight places.
Alan"
After I got my clip, I took a look at the wires, and started to get a little worried.
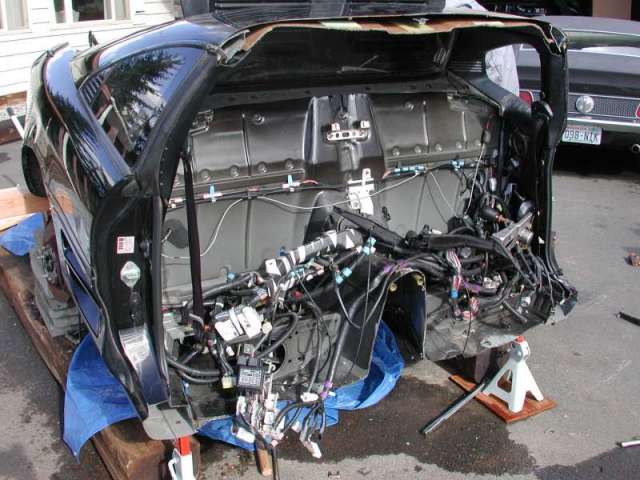
What I was actually looking at was every wire and clip uncut from under the front dash all the way to the front Fuse panel.

Here it is removed, probably weighs 75lbs total. This is a serious set of wires and clips. I was totally amazed. I think the MKII MR2 wiring is way more complicated than it needs to be. I couldn't get it to fit into a normal sized box, ended up putting it into a 4 foot tall one.
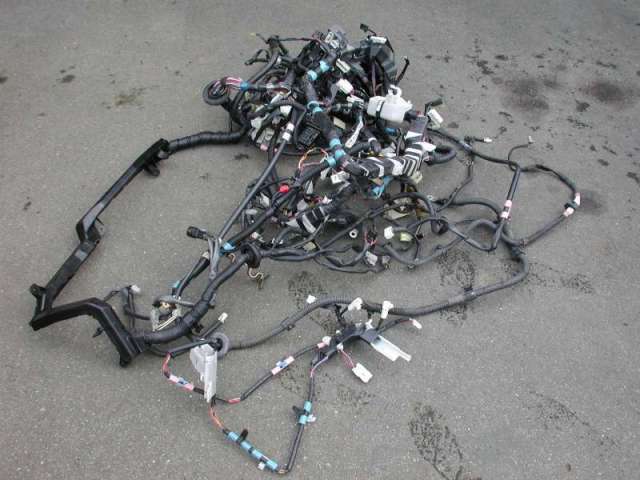
Here's the harness that actually needs to be connected to the US car.
Part # 82111-17583 It lists for $956.93 This harness starts in the engine room, then one half goes to the rear trunk and ECU, and the other half goes to the front left (facing forward) kick panel area. Whew, there are maybe 10 clips for the kick panel section, this should be easy.
Known as the "engine room" wiring harness by Toyota. It goes from the ECU to the front kick panel (is not one that attatches to the engine). This is the one that is often cut when you get an engine or clip. Having this intact can make a Gen III 3SGTE to Gen II 3SGTE swap alot easier. Part # 82111-17583 It lists for $956.93
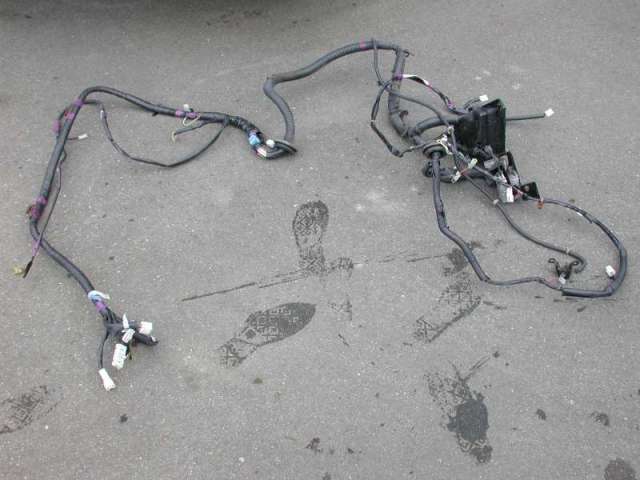
Here's the harness being pushed through the firewall from the engine room.
The first plug matches up fine.
Here's a ground strap being bolted down.

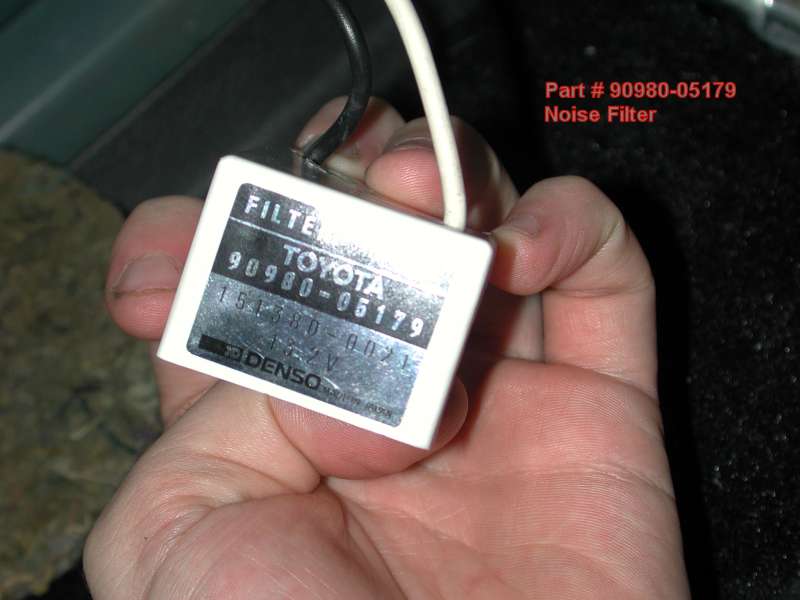
This one goes to the Noise Filter in the pic below...
Mine came with my half-cut, you may have to order one, or just forget about it. I doubt it will hurt anything.
The door sensor normally plugs to the gen2 harness, but the gen3 does not have a spot for it. You will have to run a wire to it.
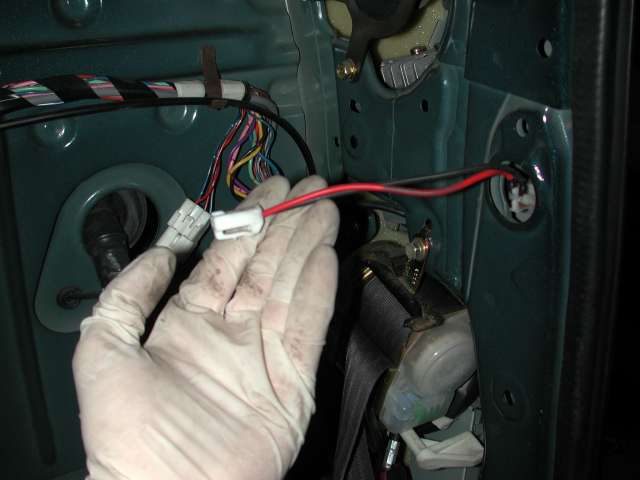
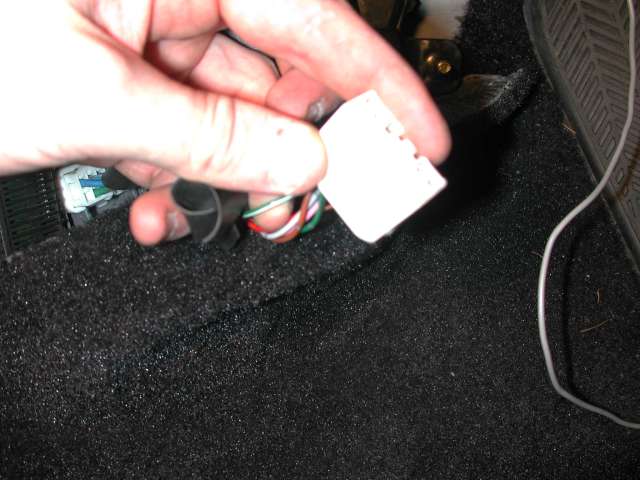
I looked in to the rest of the wires I had from the clip and found the plugs that matched the speaker and door sensor.
Clipped onto the speaker.
Clipped onto the door sensor.
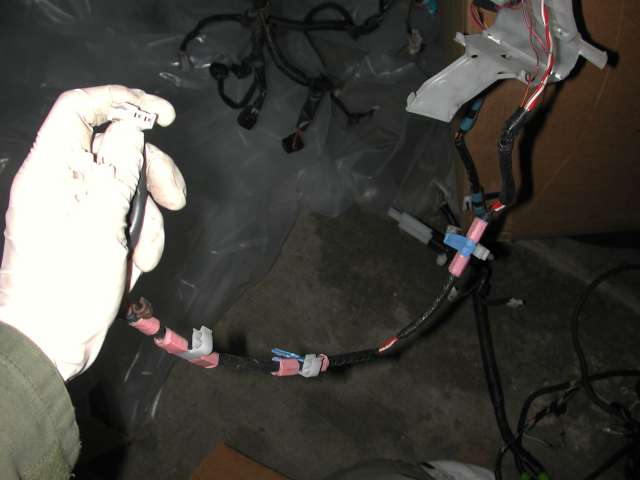
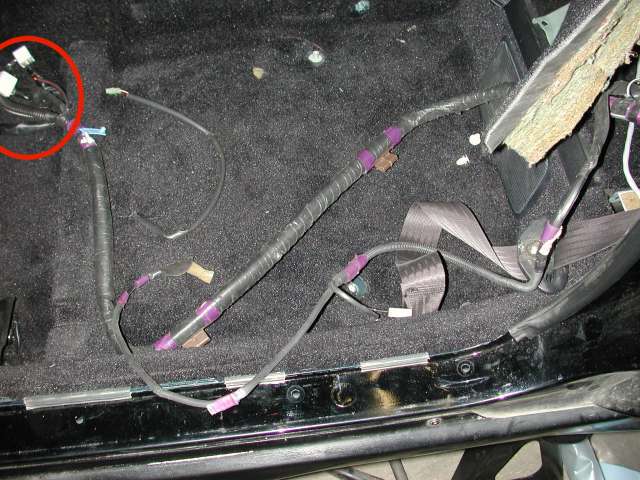
Then I ran the wires for the door sensor to the middle of the car. That's as far as that harness would allow me to reach.
Here are those wires.
I then spliced in wires to all of the ends, and ran the two for the speaker to the amplifier next to the drivers speaker and spliced into plug B wires 3 and 9. I ran another two wires to the passenger door sensor, and spliced them in just after the connector. This allows the door sensor and alarm to work on both sides.
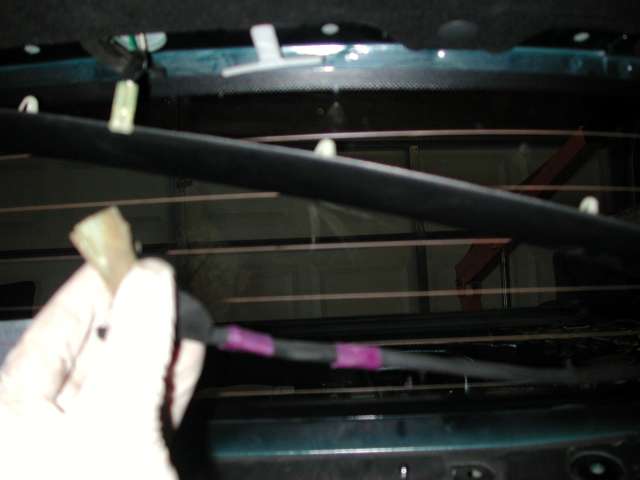
Rear window defroster. Clipped on.

3rd brake light. Clipped on, but may not work correctly ,it did on mine, but others have reported that it's on all the time. This may be because they forgot a ground strap at the taillights, or used 94 taillights (guessing). later...
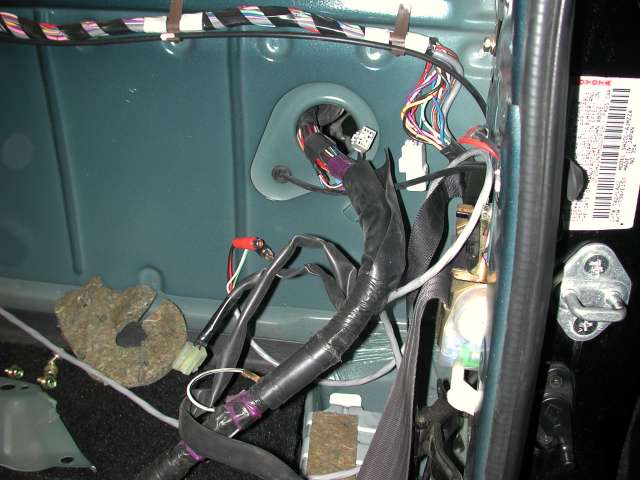
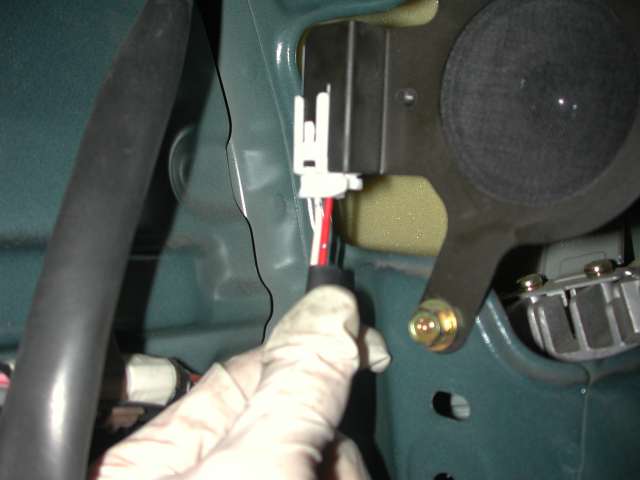
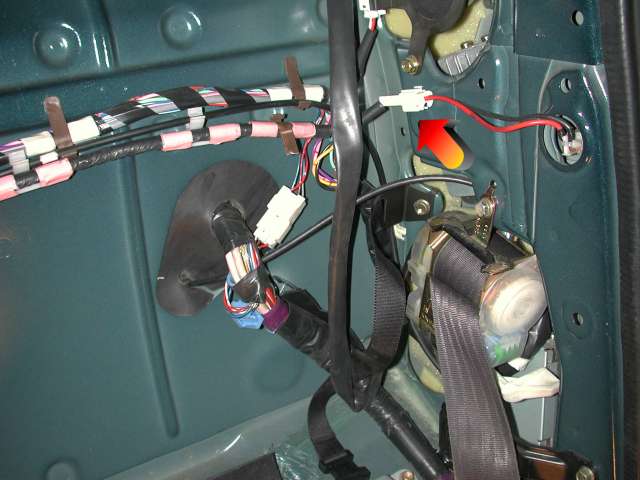
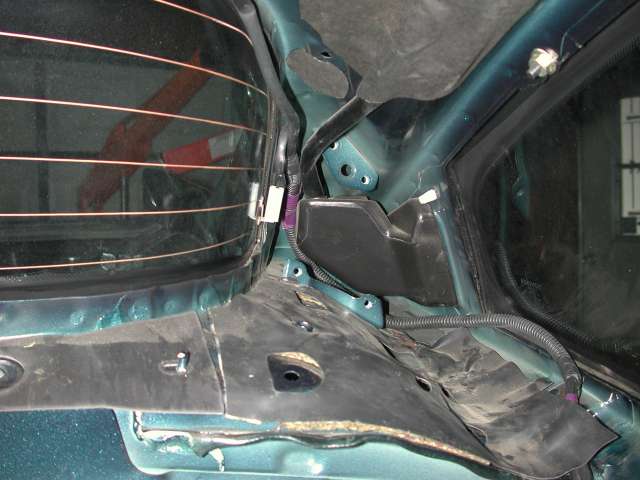
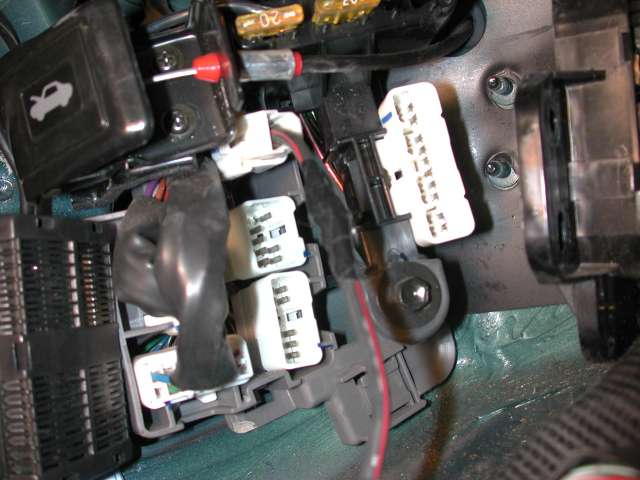
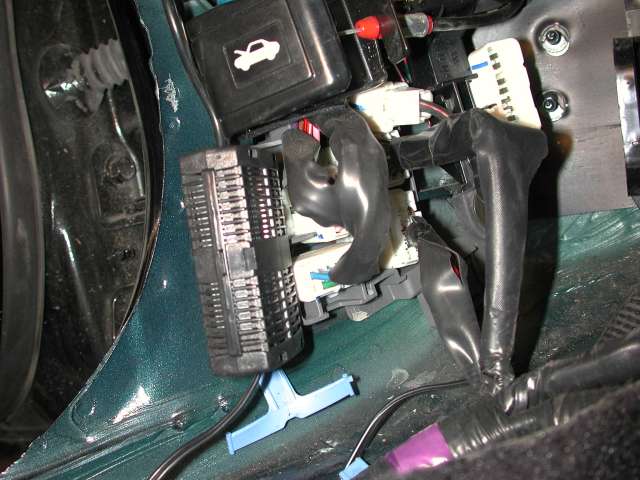
Ok, on to the kick panel area. This pic shows the section of harness we're working with. There are 4 white plugs, and one black connection.
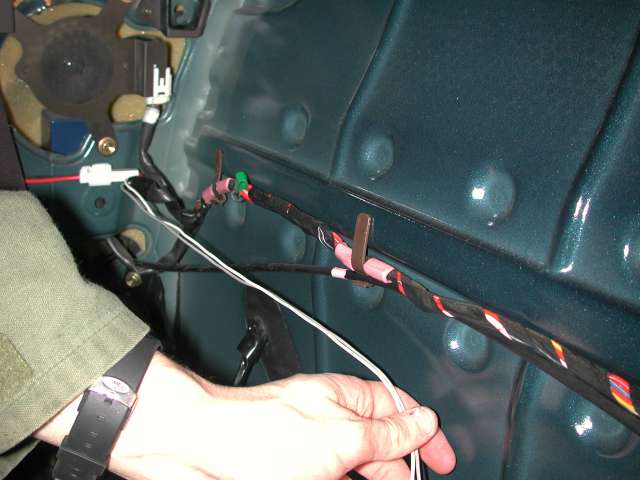
Optional: It's probably best to wait until the car is started to see if you need to do this or not. If your ABS light comes on everytime you hit the brakes after you're all done, then you can cut the green wire with the white stripe on the smaller rectangular connector to fix the problem. The gen3 cars use some other method, or no method at all, to diagnose the airbag for problems. So they put something else in this plug (apparently grounding when the brakes are pushed). Anyways, it doesn't hurt to cut this wire, and it will fix the airbag light problem if you have it. For reference, this plug goes to #3 below.
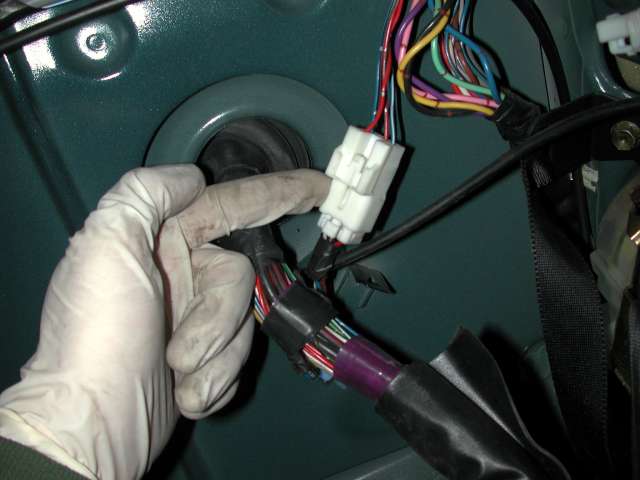
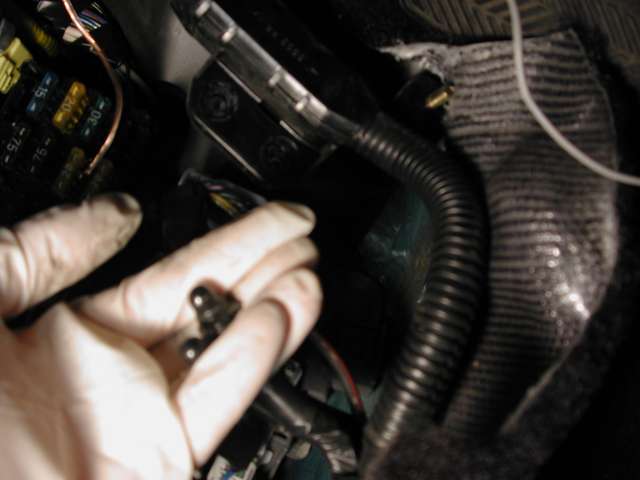
Here are all the plugs for this last part.
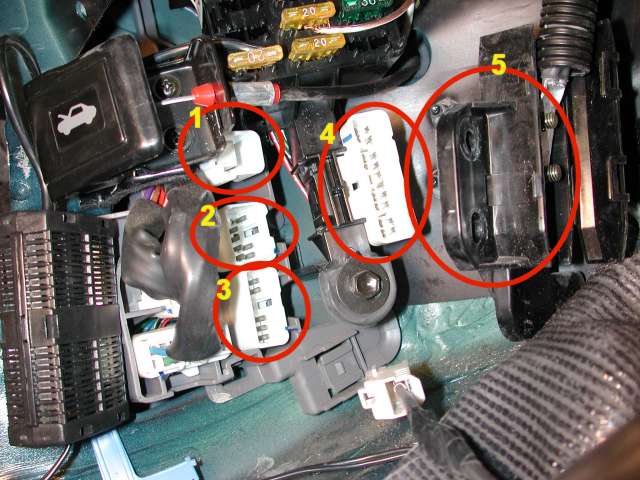
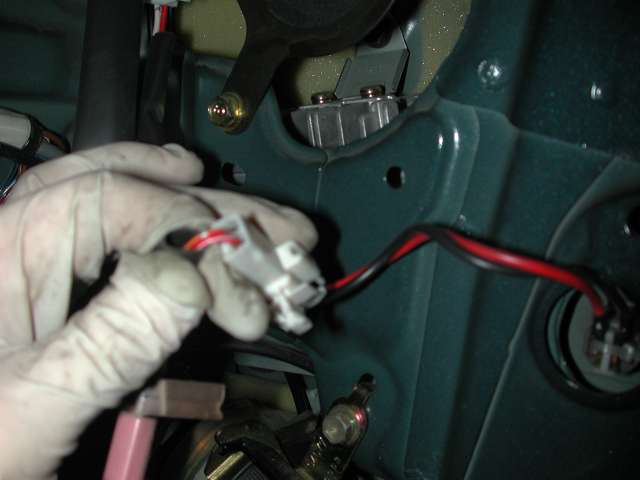
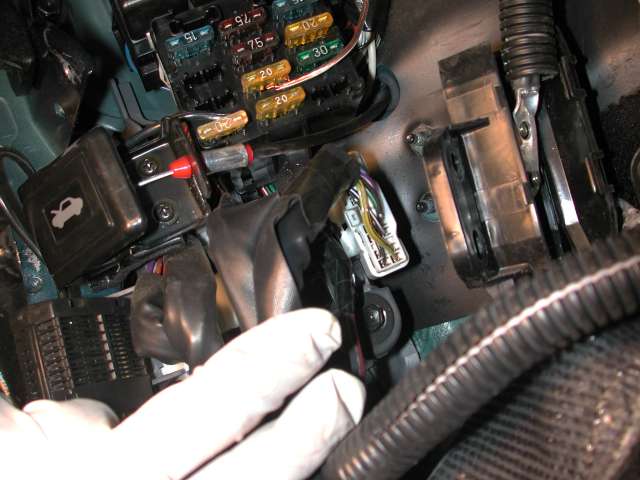
This is the first one, this is also the one that had to have it's connector cut off of the gen2 harness and spliced onto this one. I actually got mine off of the extra gen3 wires that came with my clip. Ron Swift suggest that one :)
Here's #3 going on.

Here's #2.
#4
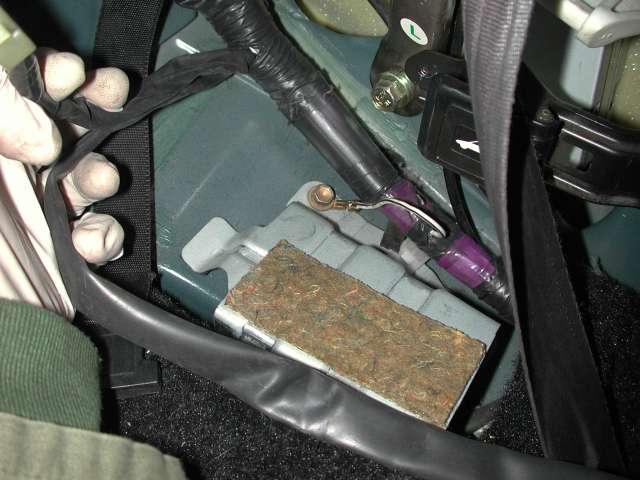
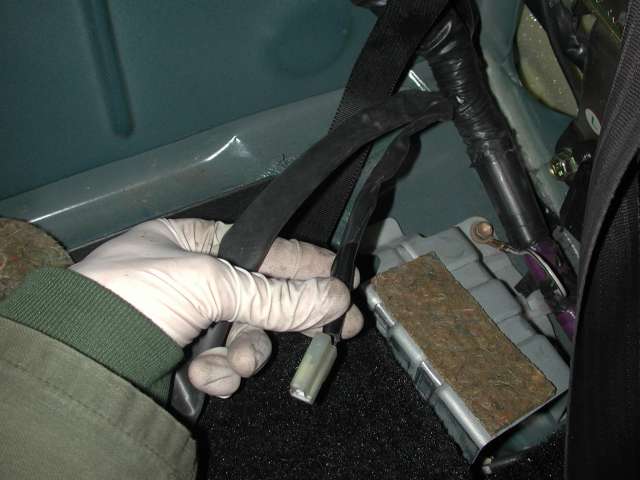
#5 First bolt up the looped connector to the black plastic connector, then...
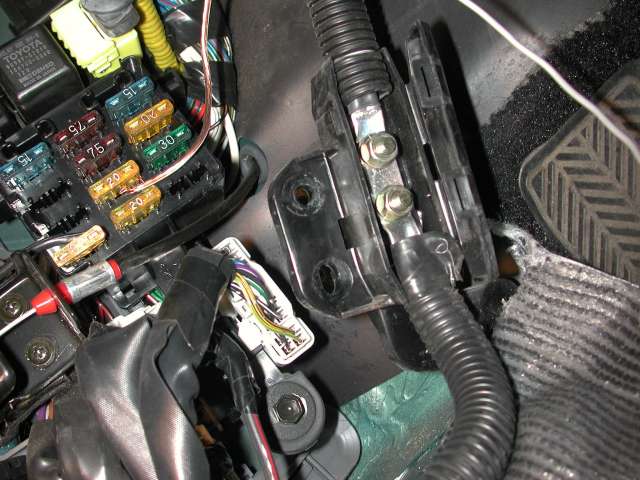
#5 Bolt the black plastic connector to the wall with the two nuts here.
#5 All done
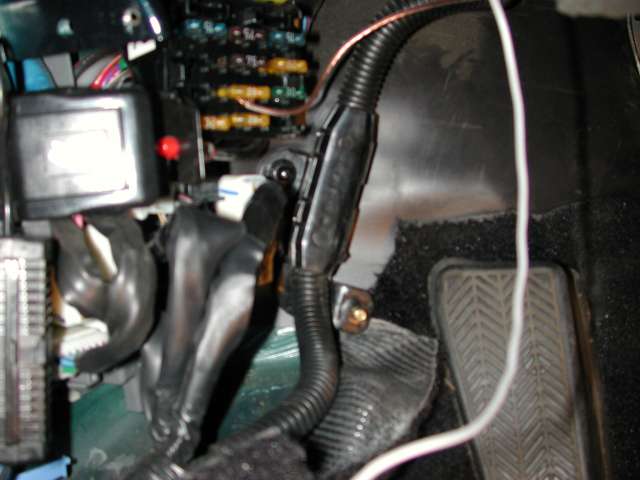
OMG ! All done. Now double check the rest of your work, and start it up! Not too hard really, it's just a matter of spending the time doing it. I spent months just going slow, working one or two hours a week (until the end), and doing things as I had time and understanding. Board searches are a big help at this point. Good luck.